
How To: Installing Node.js and npm on a Raspberry Pi 3
In this post we will review how to install Node.js and npm on a Rasbperry Pi 3 running a fresh installation of Raspbian Stretch Lite. The version of node I’ll be installing is 8, however if you need to install a different version you can still use these instructions. Let’s get started!
This is essentially a three part process. First we remove any installation or packages that may have come preinstalled with Raspbian. Next, we’ll run a bash script provided by NodeSource which updates our repository so we can do a simple apt install. And lastly we’ll use apt to install Node.js.
Step 1: Removing preinstalled Node.js and npm
Run the following commands in your pi’s terminal to remove any old installs of Node.js and npm –
sudo apt remove nodered -y
sudo apt remove node nodejs nodejs-legacy -y
sudo apt remove npm -y
If you now run the node -v or npm -v commands you should get a command not found error. Once that’s set we’re going to run:
sudo apt remove --purge nodeThe purge flag is like the remove command, except it also removes any configuration or data files that remove may have left behind.
Step 2: Running the setup script
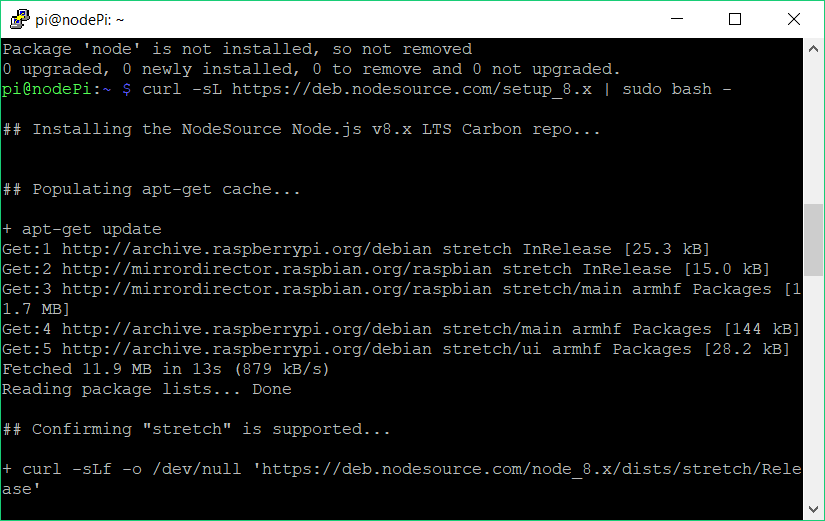
Next we’re going to use curl to download the setup script from NodeSource and run it immediately.
curl -sL http://deb.nodesource.com/setup_8.x | sudo bash -As I mentioned earlier you can replace 8.x for say 7.x, 6.x, 5.x, etc. If you want to see all your options just head over to the NodeSource git repo and see which scripts are available to use. Once this finishes you’re almost done, just one final step.
Step 3: Installing node.js and npm
Once the script is finished it will tell you to run the apt-get install command as sudo, so that’s exactly what we’ll do:
sudo apt-get install nodejsAnd that’s it! You can verify that Node.js and npm are properly installed using the node -v or npm -v commands which will show which versions your machine is running.

